
|
Graphs can tell more about data than words, and as a result, are a powerful tool for students to represent supporting information in their work. Not all graphs tell the same story, however, and students have to determine which type of graph best tells the story they want. As students learn the art of graphing, they can use some of the following tools to help in their selection of the best graph for the best storytelling.  Createagraph, a site sponsored by the National Center for Education Statistics, features the following graph types:
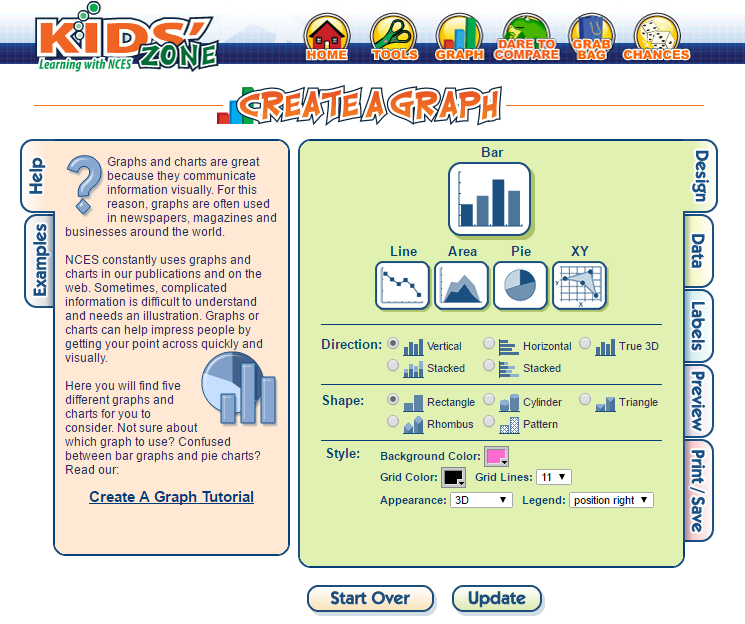 Students work their way through each tab, beginning with the Design tab to select the type of graph and style choices, then the Data tab to put in collected data, and finally the Labels tab to refine choices with data labels and fonts. The Preview tab allows students to view their final product, and if edits or revisions are needed, they simply click back to the previous tabs. The Print/Save tab is for either printing or downloading a JPG image as a final product. If downloading as a JPG image, this graph can be inserted into a presentation.  Illuminations, a site sponsored by the National Council of Teachers of Mathematics, has many options to support math instruction, but the two graphing tools are the Data Grapher and the Advanced Data Grapher. The Data Grapher is similar to Createagraph, with the ability to create the following graph types:
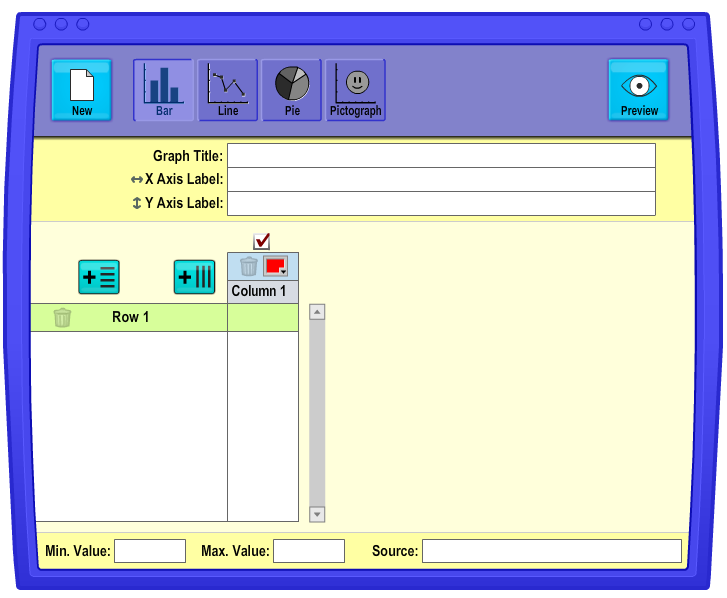 This tool may be more friendly for primary classrooms, with a simpler layout. Students can add more rows or columns with the click of the + buttons. Row and column text can be edited, so rows and columns can also be added by simply tabbing after editing text. 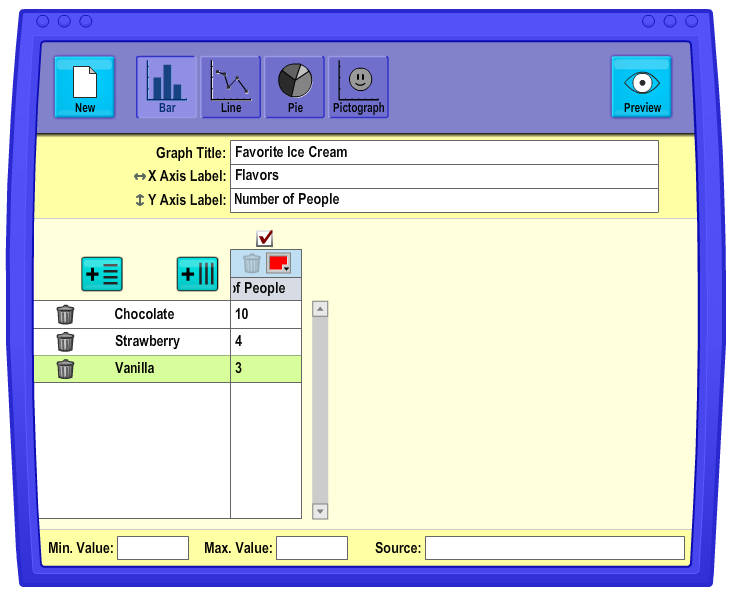 After inputting data, students click the Preview button to see additional editing tools. 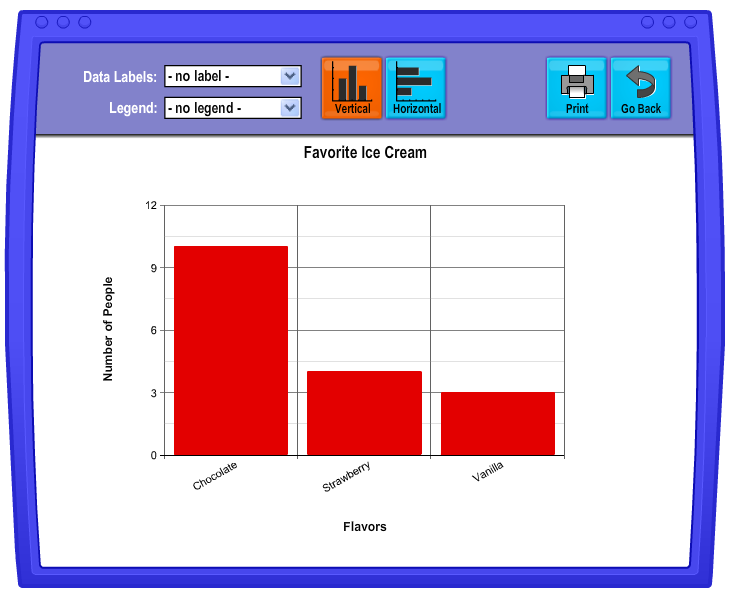 For intermediate grades, the Advanced Data Grapher on Illuminations’ site offers the following graph types:
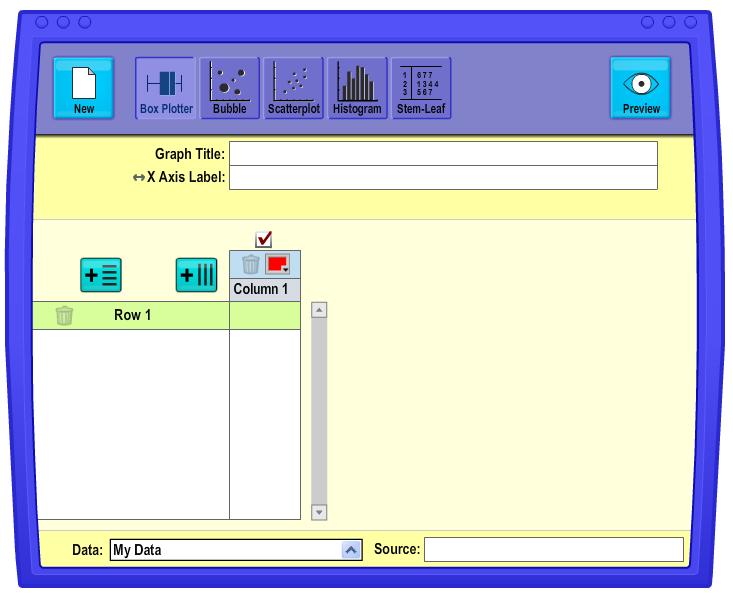 Similar in layout to the Data Grapher, many of the learned skills transfer well to using this tool efficiently. An added bonus with the Advanced Data Grapher, though, is the ability to use suggested data sets for Box Plotter, Histogram, and Stem-Leaf graph types, using the dropdown menu at the bottom of the graphing tool.
Encouraging students to not only read graphs but also to build their own graphical representation of data is an engaging task that promotes critical thinking and analysis. If you’d like further support, be sure to check in with your instructional coach or the tech coach for planning a lesson or project incorporating one of these options.
0 Comments
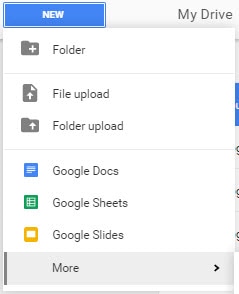
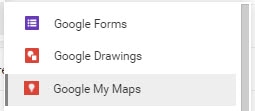
Geography and history can come alive when students create an interactive map with one of the apps recently added to our Google Drive/G Suite for Education. “Google My Maps” now shows up when clicking New and then More.
Students can pin locations, and with each pin, add photos and text to share information interactively with their audiences. 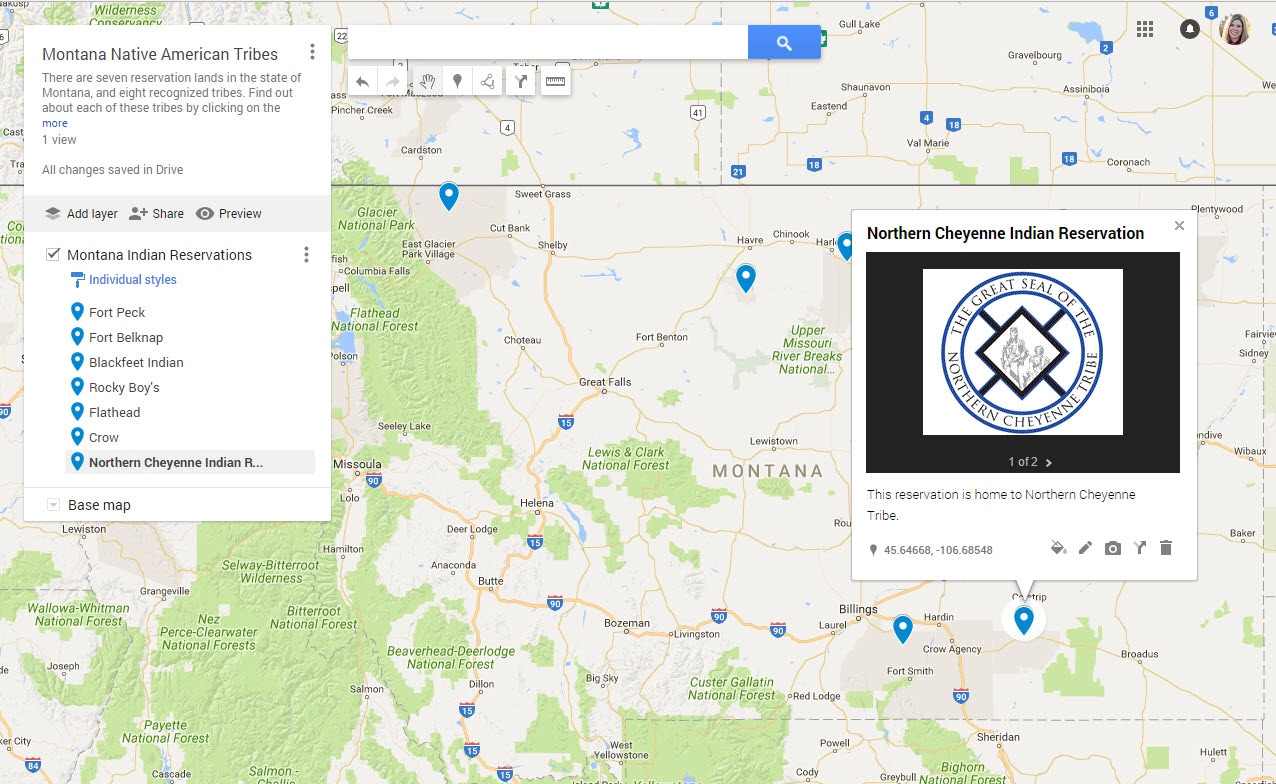 Some additional features including changing the type of base map used, latitude and longitude noted on each pin, and a ruler tool that will measure distances between locations. These options expand the possibilities of using My Maps as a presentation tool, a geography lesson, or a math lesson. Check out this sample interactive map to see the potential of this tool. Instructional and tech coaches are a great source of support for planning these type of lessons, integrating technology with content to create an engaging project with students.
 Most students become fairly proficient at building PowerPoints and Google Slideshows, and one way to redefine these useful presentation tools is to have students actually record audio or narration and add to the final product. There are a few tools to do this, but a new extension that now shows in the Chrome browser is called Screencastify. First, let’s define an extension. This is a function that “extends” across all websites when using Chrome, meaning it will function with any website rather than just one website. An app, on the other hand, typically launches and/or is linked to just one website. 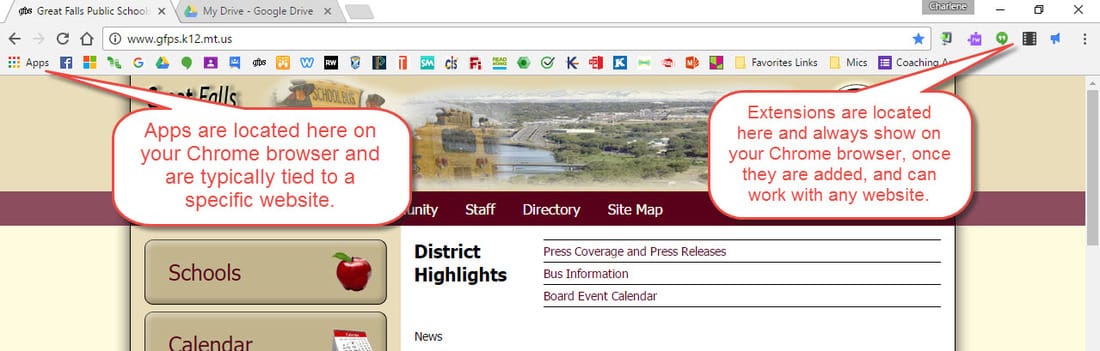 Screencastify is an extension, so it will work on whatever screen is displayed. The icon looks like a film strip because it essentially turns a Google Slideshow (or anything else displayed on the screen) into a video file, complete with audio. Taneesha Thomas, from William J. Bogan Computer Technical High School, created a great tutorial slideshow on how to use Screencastify, detailing the step-by-step process. If Screencastify is already an added extension, go to the section marked Set Up for the first launch. Then the section on Tab Recording will walk through the process of recording. Here is an example video which uses this slideshow and Screencastify to add narration.
This can be a great extension (pun intended!) when using slideshows for presentations, especially for students who are intimidated by presenting in front of the class or students who are ready to enhance those presentations. Feel free to contact your instructional coach or the tech coach for support in planning, modeling, or supporting a lesson using Google Slides and Screencastify.  Finding the right tech tool for both a primary and an intermediate application can be challenging, but Seesaw, a digital portfolio option, can be a perfect fit for kindergarten through sixth grade. Depending on how it is used, it could potentially meet every tech standard while promoting communication with parents about student work. It is helpful to first know what Seesaw can do and then choose your purpose for its use with students. Seesaw is a way for students to share their individual work, first with each other and secondly with any others invited to view. As one student calls it, it is a “Facebook for kids” with an academic focus. They can like each other’s posts and offer comments, while the teacher has full control of what is added to the class feed through an approval process, to include comments. However, determining your purpose is an important step for implementing Seesaw. Its original intent is simply building a student portfolio of their work and sharing it with others. However, assignments can be given directly in Seesaw itself with six different options. 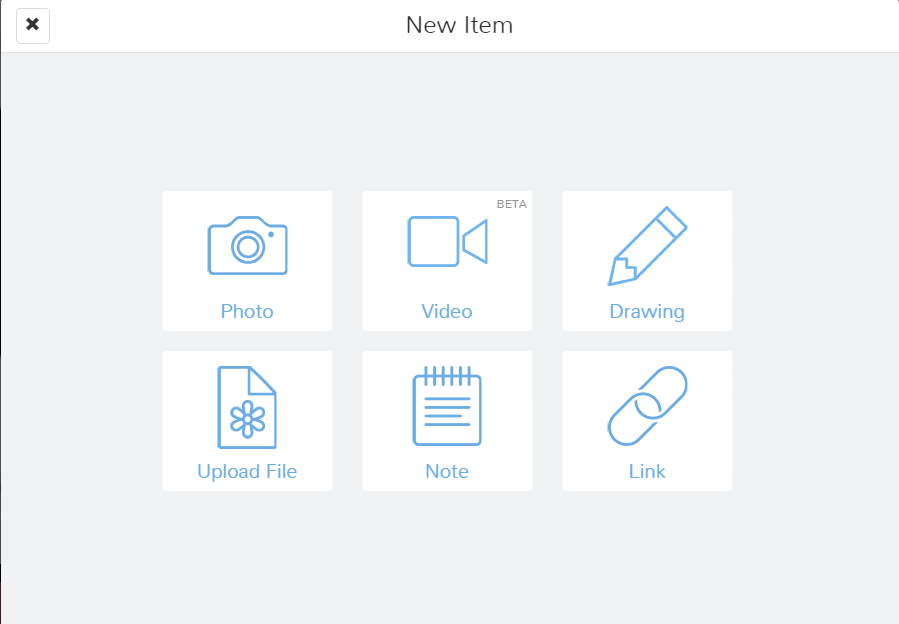 Additionally, students can collaborate on a given assignment and add it to each partner’s portfolio. With the commenting feature and the ability to share with others, students can improve their communication skills and learn how to effectively interact with their peers and parents in an online forum.
Click here for my guidelines and suggestions for developing your approach to using this collaborative and interactive Web 2.0 tool, which does require parent permission (click here for the GFPS Parent Permission Slip). There are lesson ideas as well as a suggested scope and sequence for introducing students to Seesaw. Feel free to contact me or your instructional coach for additional support and begin building students' online portfolios. What is the best way to assign a Google Docs template for my students to work on independently? What is the best tool for students to submit a link to their work? How can I monitor and/or have copies of my students’ work? Google Classroom allows a teacher to organize digital content in an efficient platform. Once Classroom is accessed, creating a specific class space begins with a few simple clicks. It is always best to begin by logging into Google Drive, aka Google Apps for Education and most recently renamed as G Suite for Education. Whichever name used, Classroom is only an option when logging into an educational account. Once logged in, there are two options:
 If it is a user’s first experience with Classroom, it is important to select the right role. Students need to select “Student” and receive permission to “Join class.” Teachers need to select “Teacher” and receive permissions to both “Join class” and “Create class.” While it appears obvious as to which role to select, teachers often get confused if first introduced to Classroom while attending a professional development and mistakenly select “Student,” limiting permissions only to join and never to create. However, selecting the “Teacher” role affords permission to use Classroom in both capacities. Once correctly identified and in Classroom, the user’s email will appear in the top right corner. Just to the left of the displayed email is a plus sign. When clicked, it offers those two options to “Join class” and “Create class.” Click “Create class” to begin designing an online forum for digital content. Name the class and, if desired, designate a section and/or a subject (these are optional).  In the newly created class, there will be three tabs at the top:
 The default view will begin by displaying the class under the Stream tab. Google Classroom has three options to design online content for students. Each option has a different use, but creativity can also allow a teacher to develop the options to suit his/her purposes. Here is a quick highlight of each option and some potential ways to address the opening questions above. Create announcement is the first option when clicking the plus sign in the bottom right corner within a Classroom. As indicated with the name, it is a way to share information with students. At the bottom of the dialogue box, there are four options to add resources. If working from a desktop or laptop, any file can be uploaded with the attachment button. Files within Google Drive can also be added with the Drive button. Although the YouTube button is available, students in our district cannot access YouTube videos directly, making it ineffective for use with students. The last button is for adding links to websites or files. These four options appear within all three elements in the Stream. 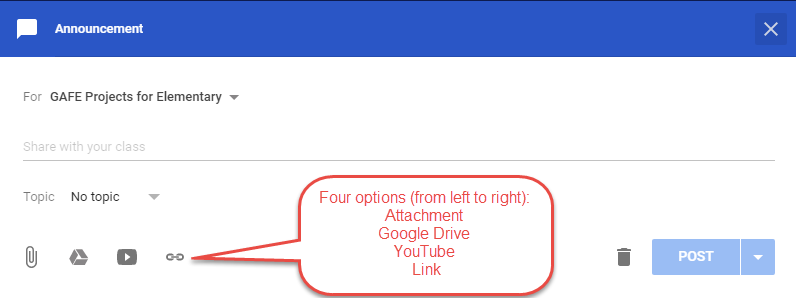 Create assignment is the next choice when clicking the plus sign in the bottom right corner under the Stream tab. Assignments have built in accountability under the teacher view, with a count of enrolled students who are “Done” and “Not Done” with the assignment. This is also the best element to use when sharing templates with students. A template is a teacher-designed file, such as a Google Doc with specific text inserted, or a Google slideshow with designated topics on each slide. When first creating an assignment, a teacher could use the Google Drive button and access a template, and once uploaded, select “Make a copy for each student.” This selection disappears after the assignment is created, so it is important to choose it when first designing the assignment. The beauty of using a template and “Make a copy for each student” is the teacher’s file remains untouched, while students immediately receive an editable file personalized with both the assignment name and the student’s name. The teacher has access to all students’ individual files through Classroom. 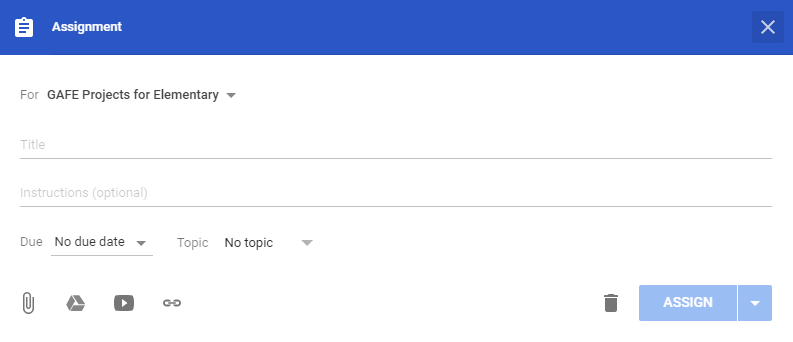 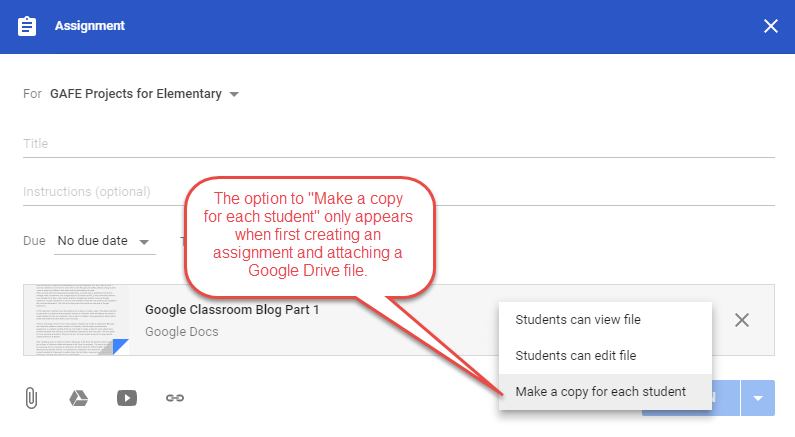 Create question is the last alternative when using the plus sign to add content to the class. Just as with assignments, questions also have built in accountability under the teacher view, with a count of enrolled students who are “Done” and “Not Done” with answering the question. Questions can have two different purposes: discussion forum or checks for understanding. They also have two design options to reflect those purposes: short answer or multiple choice. There are a variety of combinations for the settings within the class to control what students can see and do when responding to a question. When first introducing discussion forums, it is important to think through the purpose and instruction so students can successfully participate on an academic level, and settings for questions can help guide that process. 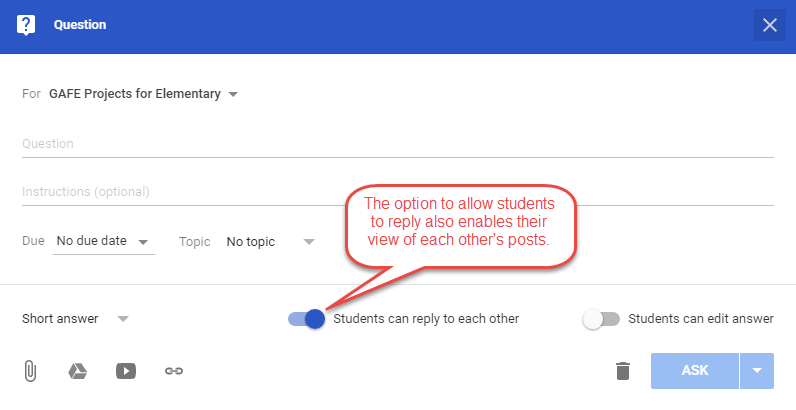  There are many benefits to building a Google Classroom, but in particular, organizing digital content in a manner that makes it easily accessible to students is by far one of its best features. Your instructional coach or tech coach would be happy to support you in making this a useful tool in your classroom instruction.
I want to share a website with students. I want to see my students’ initial drafts as they type up their documents or create their presentations to provide feedback, but I don’t want to print. I want my students to comment on each other’s work through peer editing without having to print. I want to grade my students’ final drafts and/or presentations at home.
When working with technology-based assignments, a teacher has to determine how best to manage these components, and Google Apps for Education (GAFE), more commonly referred to as Google Drive, has a user-friendly learning management system known as Google Classroom. Google Classroom is not only user-friendly for teachers, but students can navigate it with minimal distractions. This first of two blog posts will provide an overview of Google Classroom. In the Classroom, teachers have two options: join a class or create a class. This allows teachers to participate in professional development classes as “students” while still offering the option to create classes for their own students. Once a class is created, it auto-generates a class code to share with students to allow them to join the class. There is seemingly no limit to how many classes a teacher can create in Classroom. Because the Classroom platform streams (similar to Facebook), with the latest announcement, assignment, or question posting at the top, the ability to create a class for each subject area prevents students from having to scroll endlessly searching for their next task. The only option to move elements is limited to “Move to the top,” but does enable a teacher to keep specific content at the top, if desired. After creating a class, a Classroom folder will appear in My Drive for teachers (when students join a class, a Classroom folder will appear in My Drive for students). The use of this folder can be confusing, but it is important to remember: DO NOT DELETE THIS FOLDER. It stores all resources and student work as it is accessed and collected in the Classroom. (Note: Resources cannot be added to Classroom by putting them into the folder, resources must be added in Classroom, and then they will show up in the folder.) As mentioned above, there are three elements used to post in the stream of a class. All three elements allow files to be uploaded, website links to be shared, or files within Google Drive to be accessed. Announcements can be used for sharing classroom news or reminders, but is a great option for simply sharing a link. Assignments are the best option for sharing teacher-created templates, complete with a “Turn In” button for students to click when work is ready to be submitted. Questions are the Classroom’s version of a discussion forum if using the short answer option or can be a check for understanding with the multiple choice option. With the right learning management system, implementing technology-based assignments and projects becomes feasible and practical. Google Classroom has the potential to simplify the process. Next month, we’ll take a look at exactly how to create a class. Stay tuned...or contact an instructional coach or tech coach to get started now! Reconnect. If some of the peripheral equipment like document cameras, eBeams, SmartBoards, or projectors are not working, sometimes simply unplugging and replugging will prompt the connection to the computer. Computer monitors are notorious for having a plug or cord work itself loose, so if a monitor appears to not power up, tightening connections becomes a quick fix. And finally, ensuring that cords are connected to the right equipment or the right port may identify the issue.
Restart. If there are missing icons such as Program Shortcuts or Websites folders, restarting the computer will push the district’s group policy (this policy is essentially all the things the district says every computer should have) back to the computer and reinstate those icons. If a computer has been locked and the individual who is logged in is unavailable to unlock and/or log out, it will require a “forced” shutdown in which the power button is pressed and held until the computer powers down. Count to ten (just for fun!) and then power the computer back on. Refresh. When online, sometimes webpage content does not load correctly. Using the refresh button will often allow the content and its functions to load correctly. This is especially helpful in Google Drive, when collaborating with others. If students are not seeing their peers’ work, clicking refresh will usually display the most current work. One other way to think about refresh as a solution is to consider whether the appropriate browser is being used. Remember that Google plays nicely with Google, and Microsoft plays nicely with Microsoft. If using Google Drive, then use Chrome as your browser for full functionality. If using Office 365, then use Internet Explorer. The 3 R’s for Troubleshooting Technology may help both teachers and students have a more successful and enjoyable new school year when using technology as part of learning! Happy school days ahead! Looking for options to keep students engaged in reading over the summer months? Check out…  With contemporary, relevant, popular texts available with a click on a computer or a tap on a tablet, kids have access to a virtual library in an instant. 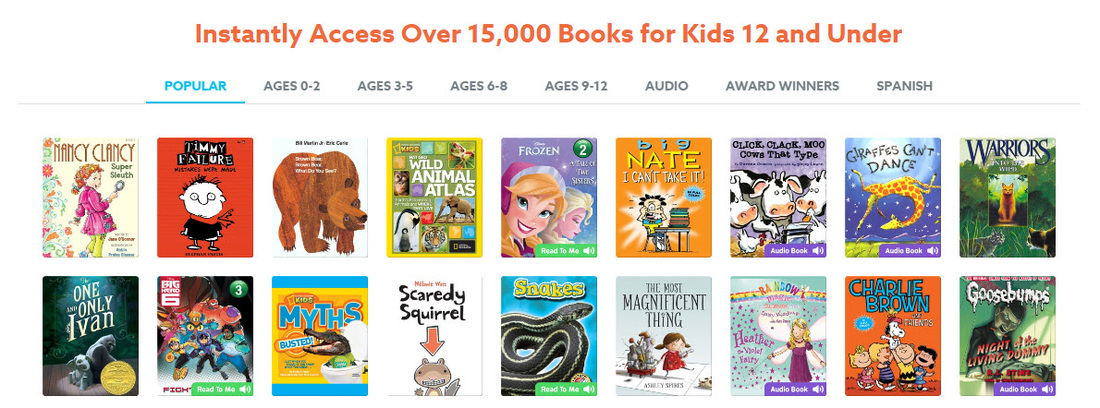 Teachers can sign up for free accounts, while parents can subscribe for $4.99 per month. (There is a promotion for a free month. Encourage parents to check it out.) These are some of the benefits of an easy-to-set-up educator account: 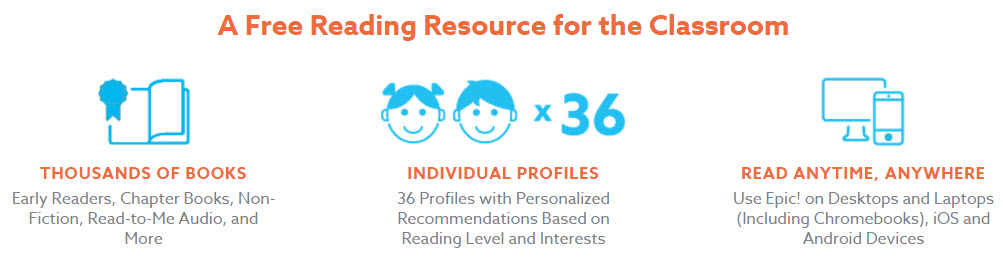 Teachers can track students’ number of books read, while students earn badges for progress. Some books have the “read-to-me” option for those who need extra support. There are even resources available to use for communicating with parents and support for implementation in the classroom.
A valuable resource, Epic! offers a unique and engaging way to motivate students to read, read, read! Looking for an engaging way to do formative assessment or class review? Kahoot has a game-style format that adds an element of friendly competition and can be accessed in a computer lab, with netbook labs, or through iPods (available for checkout from the district’s Information Services department). 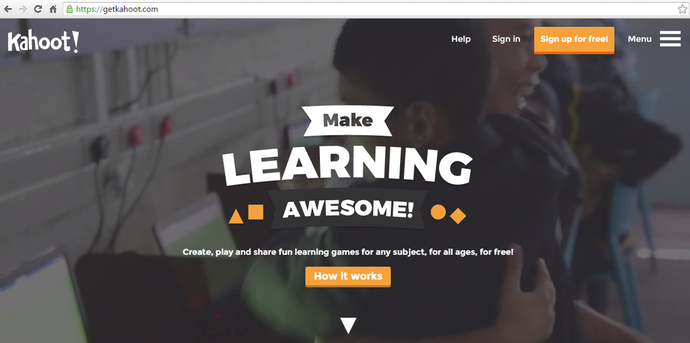 There are a few different types of Kahoots available. Quiz is probably the most popular choice. 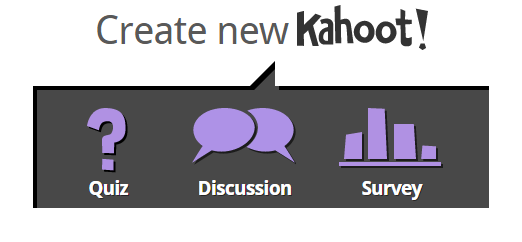 Once a Kahoot is created, click “Play” for students to access. 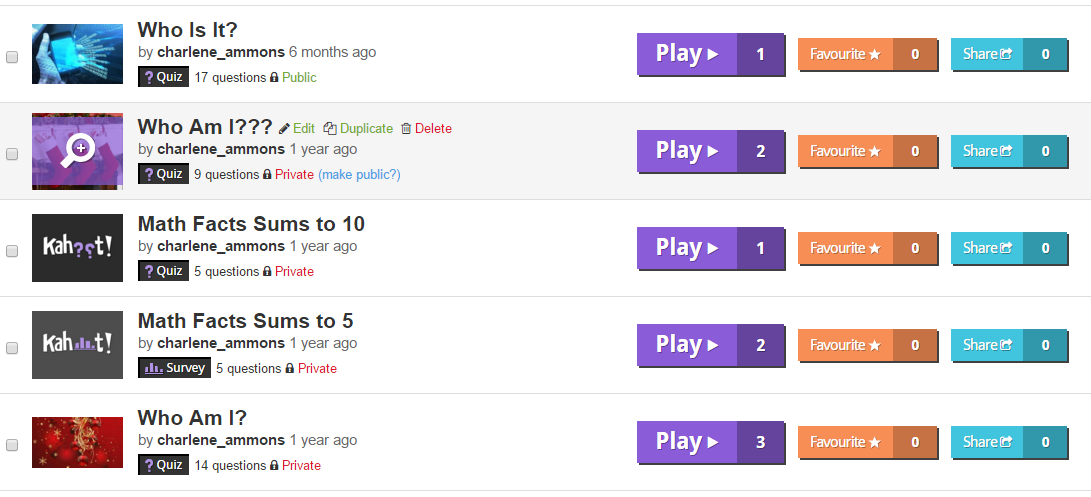 There are settings and additional options to choose each time the Kahoot is played. Once it is launched, a game pin number appears for students to enter via the website (or app). 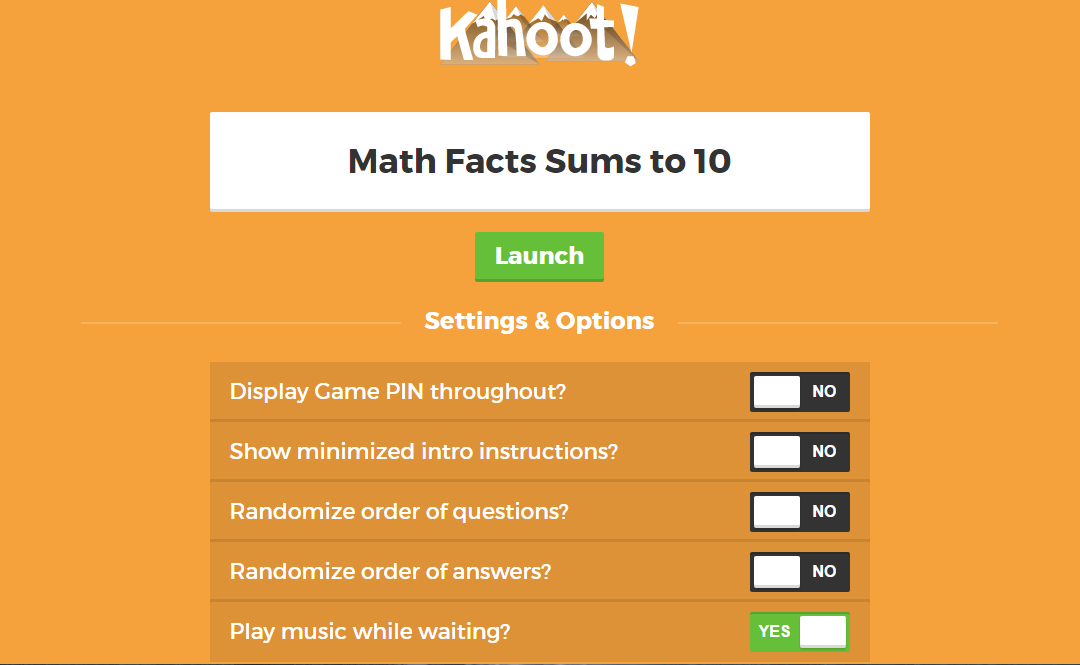 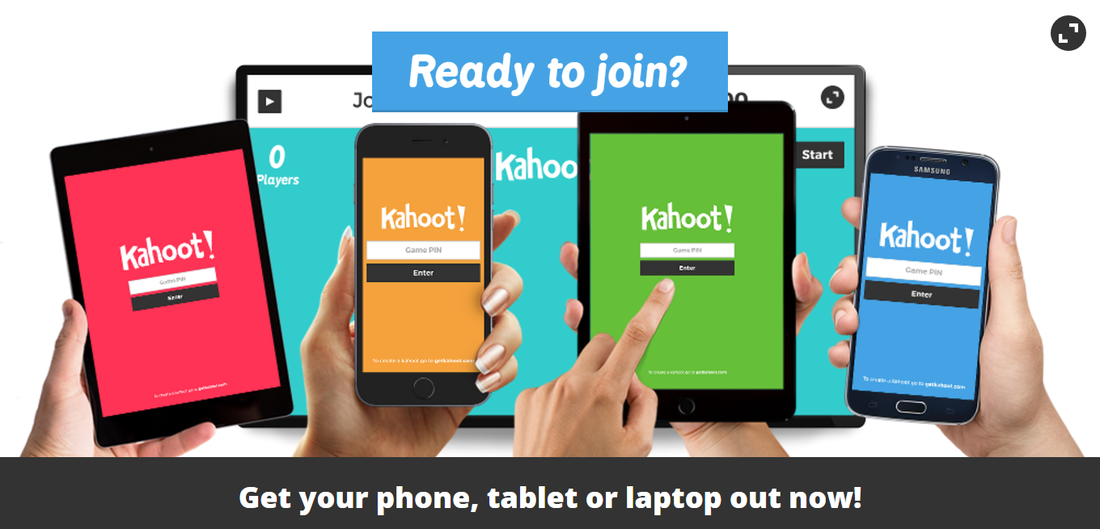 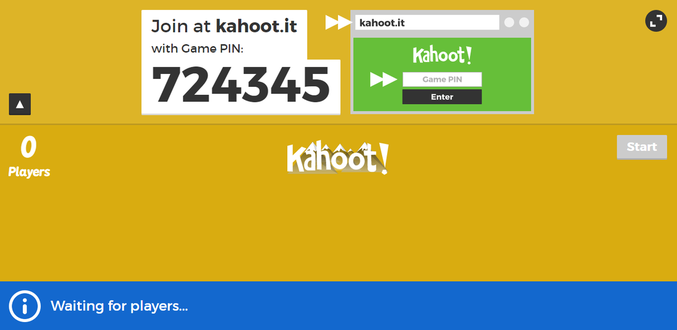 Once all players have input the game pin on their devices, the teacher then clicks “Start.” Questions appear on the projected screen, and then the answer choices display for students to correlate to what is shown on their devices. 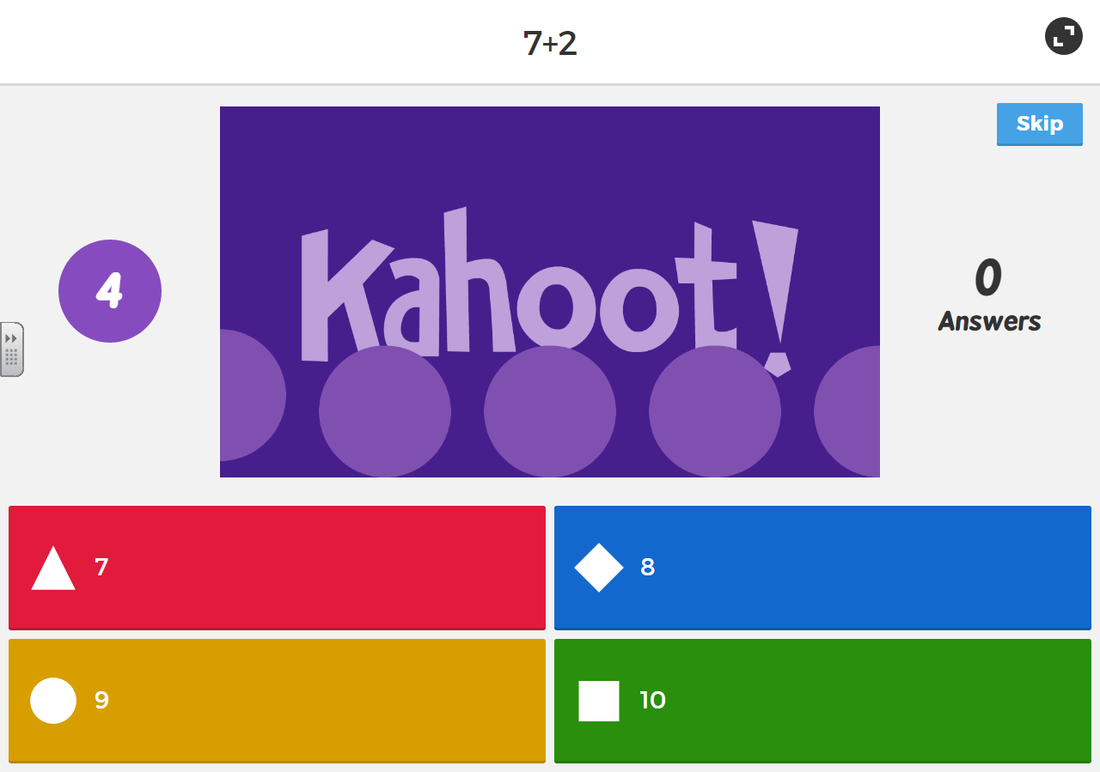 Points are awarded based on the fastest correct answer and a score sheet is shown after each question. Settings can allow for teachers to control the timing of how long questions, answer choices, and answer checks display. Teachers can also review after each question or for students to fill in a corresponding study guide to ensure that the focus is still on the content, even while students will be wildly excited about their success.
Engagement during a formative assessment and/or a review can help solidify students’ learning, and Kahoot can support teachers in doing just that! Go Kahoot it today! Creating graphic organizers for planning, analyzing, and evaluating supports students in their thinking and making connections. One web-based tool for graphic organizers is Popplet. It is appropriate for all grade levels because of its quick and easy access without a login and the ability to allow students to draw, type, or insert images. It even provides its own step-by-step tutorial to get you started. 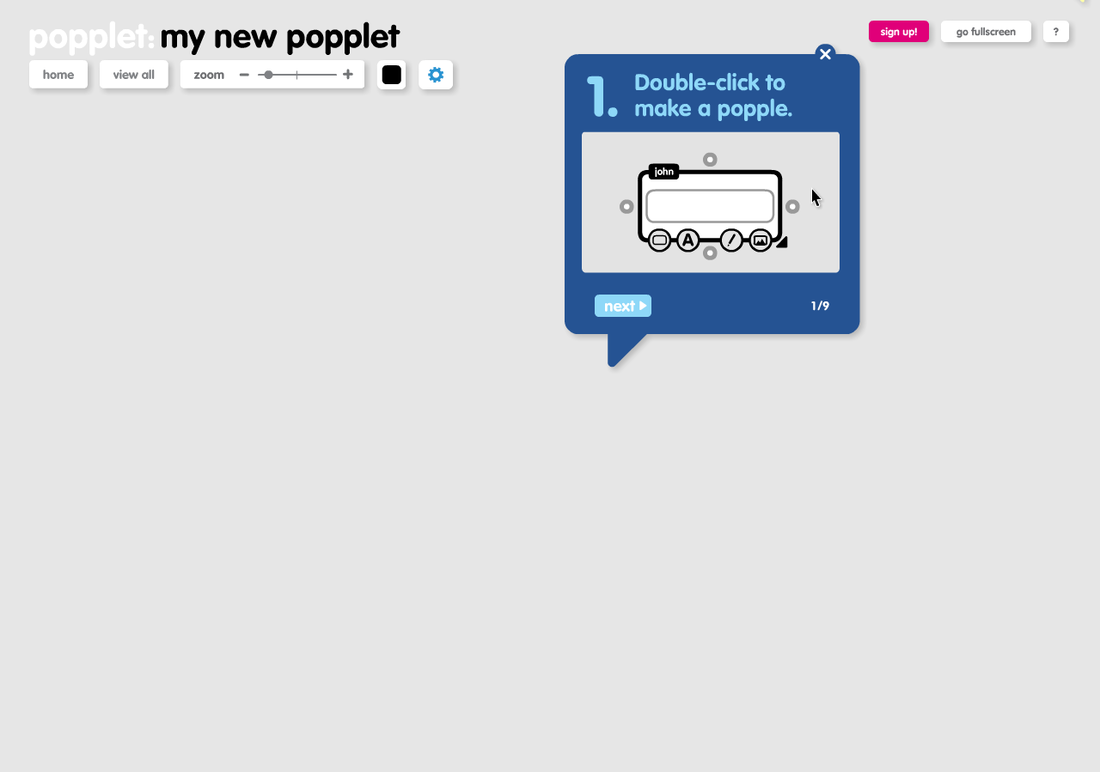 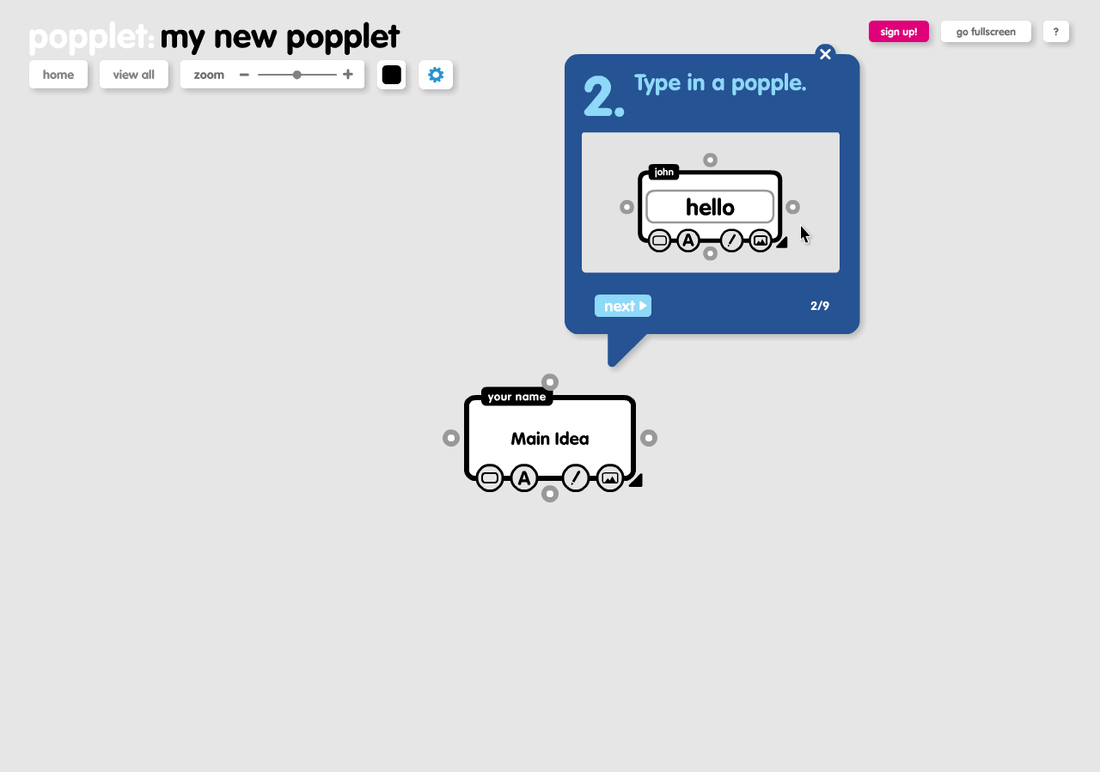 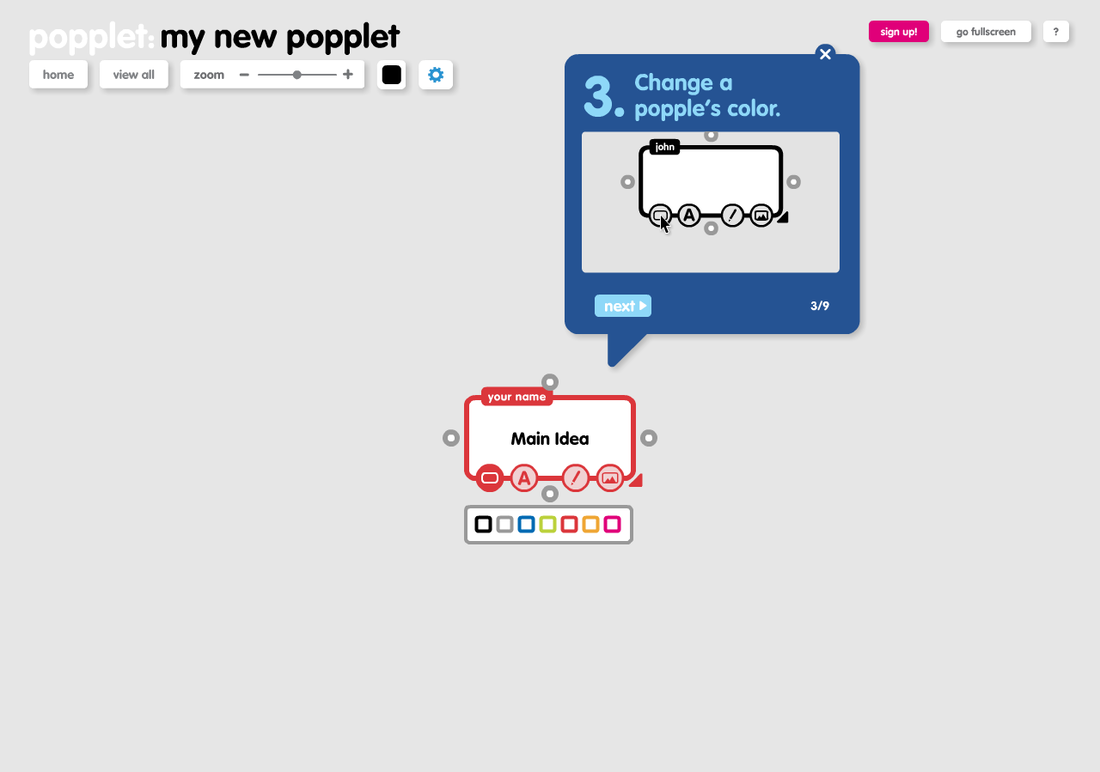 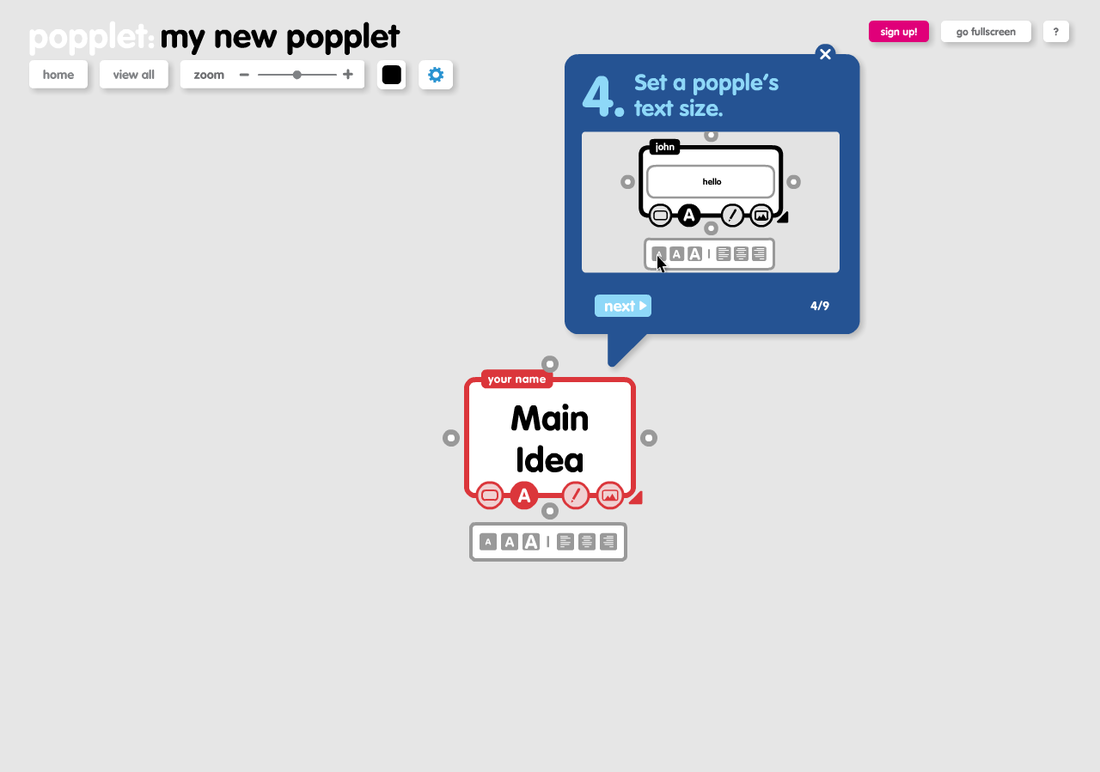 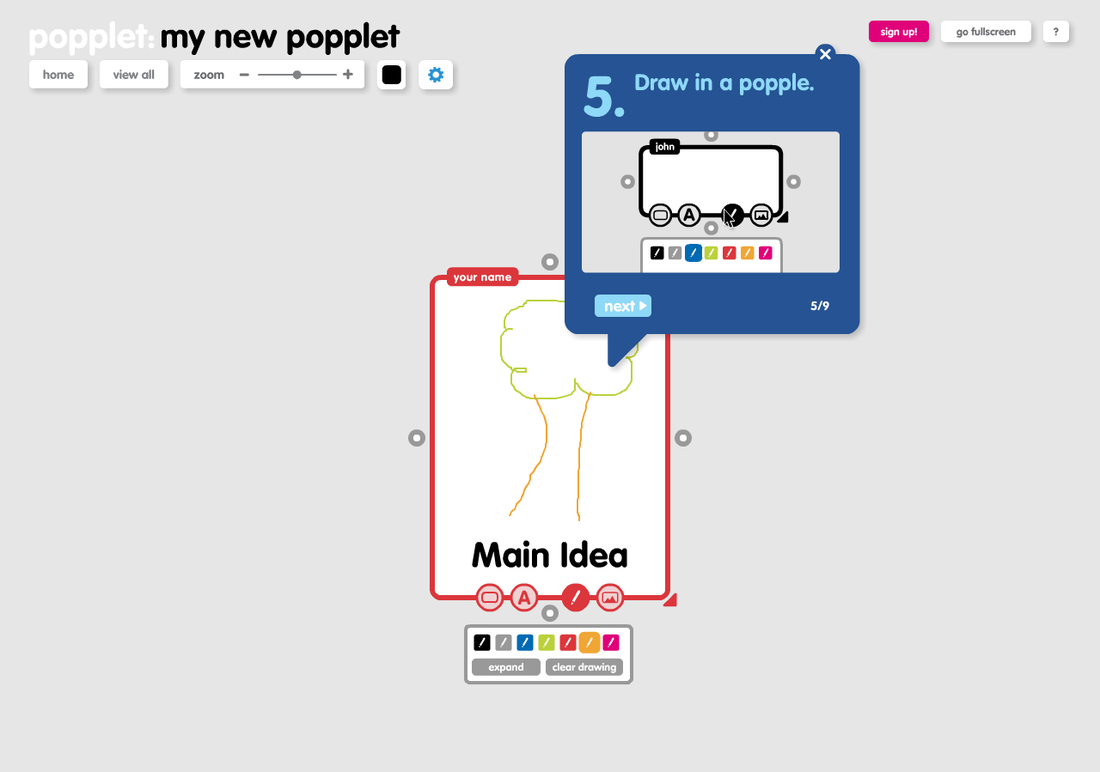 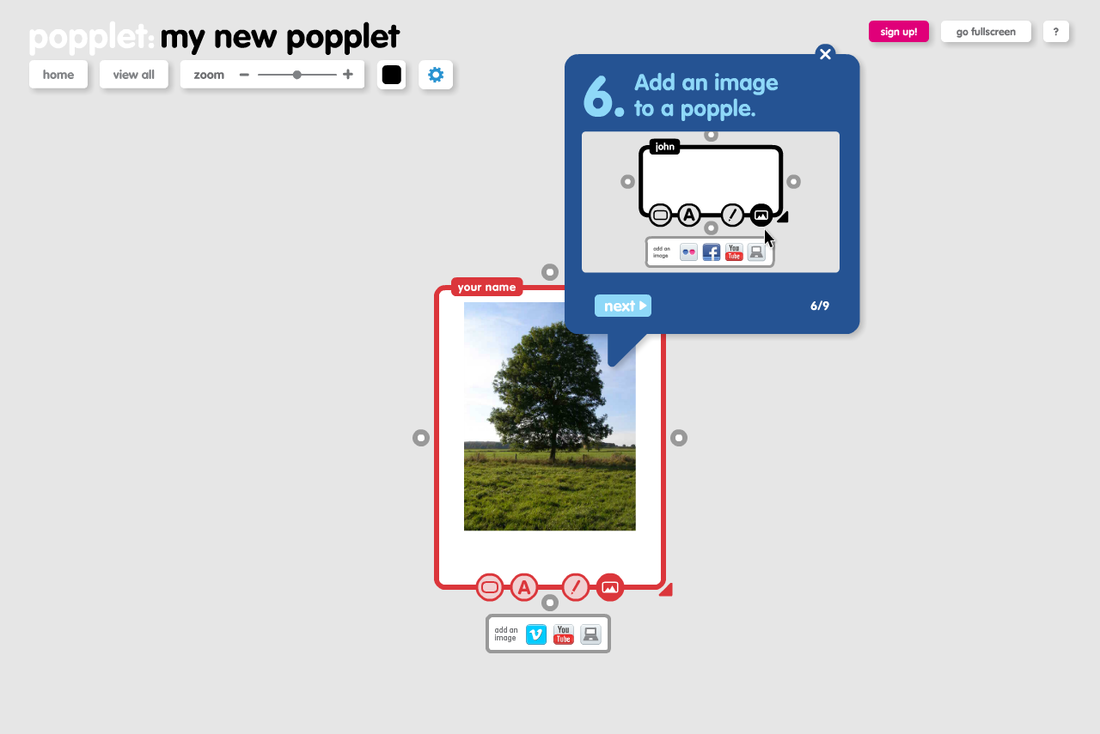 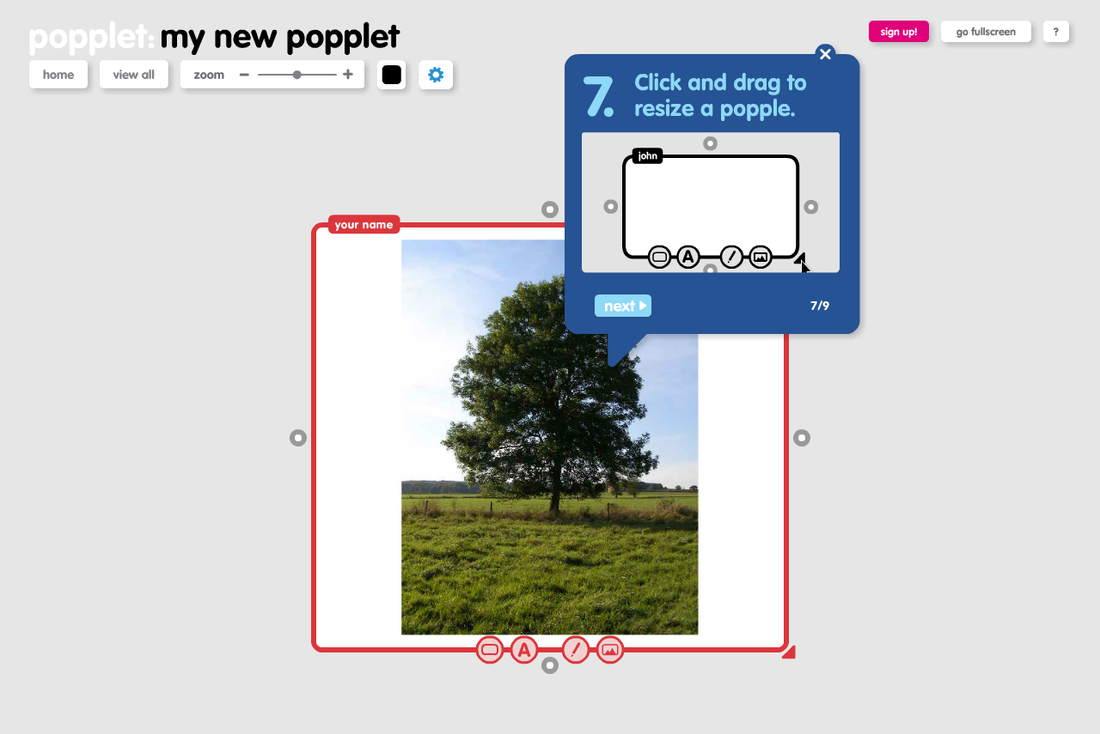   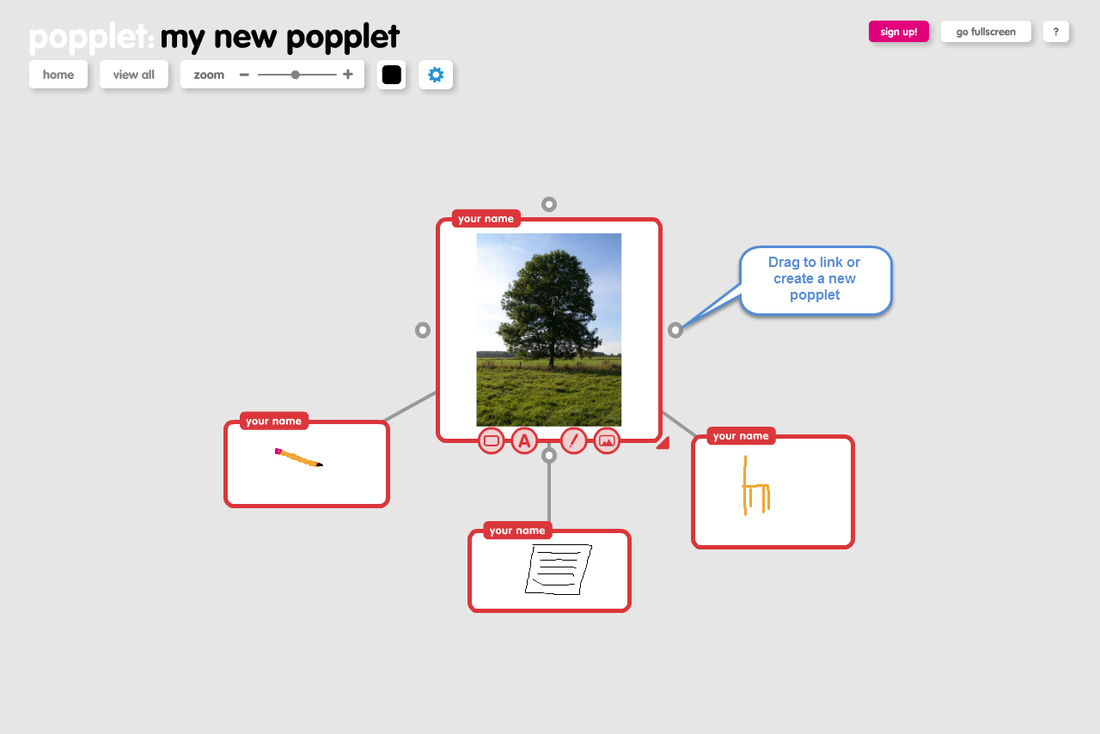 When you’re ready to download: 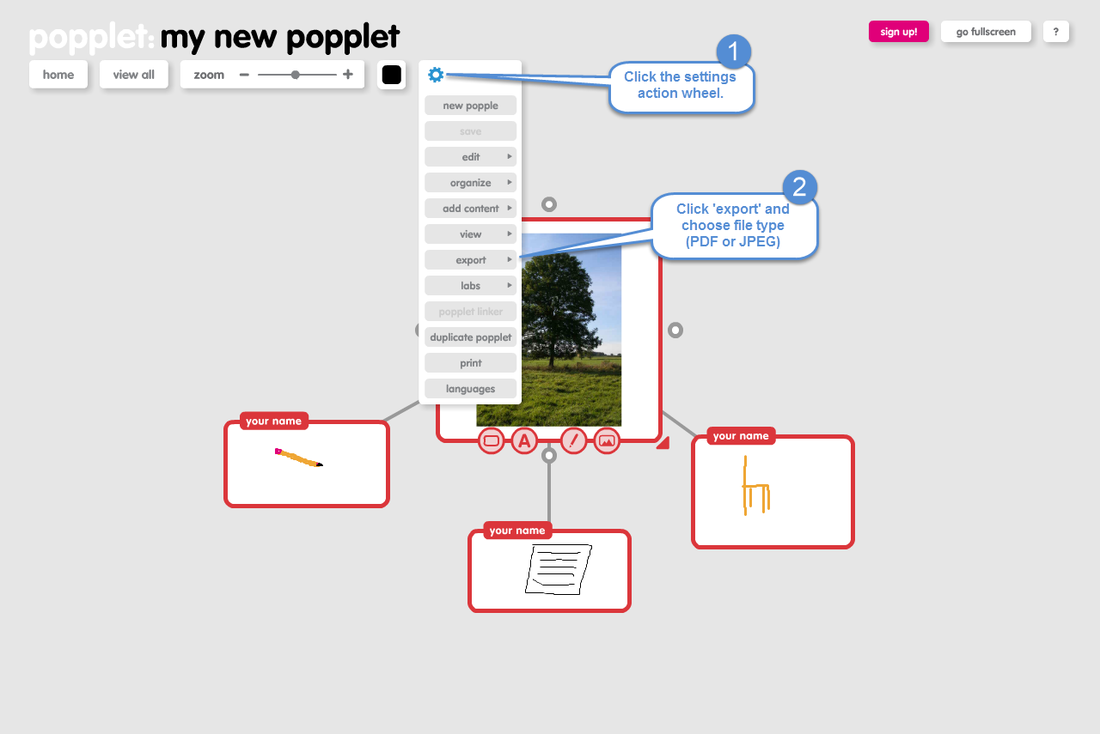 For planning purposes, be aware there is no saving without a login. When using this tool without logging in, the graphic organizer would need to be completed and exported during one session. Because a login requires an email address, students under the age of 13 should not be logging in to this site. However, it still can be a great tool for helping students organize their thinking with a visual tool that allows differentiation.
|
AuthorAs an instructional coach for technology, I get the pleasure of working with 1 preschool and 15 elementary schools to support integration of technology with classroom instruction. Archives
August 2020
Categories |
 RSS Feed